Blooket transforms learning into fun with customizable, gamified quizzes. This guide details how to create a Blooket game, from signing up and crafting question sets to choosing game modes and sharing with students. Learn to add media, set timers, and enable power-ups for engagement. Track progress with reports to enhance classroom learning.
Crafting an Engaging Blooket Game
Blooket is a gamified educational platform that turns traditional quizzes into interactive experiences, blending learning with entertainment. Below is a detailed guide on creating a Blooket game to captivate students and enhance classroom engagement.
Convert HTML code or files into high-quality PDF documents instantly
Step 1: Sign Up for a Blooket Account
Visit Blooket.com and click “Sign Up” in the top right corner. You can register using a Google account or an email address and password. Ensure you select “Teacher” during setup to access game creation tools. The process is free and straightforward, requiring no technical expertise. Once registered, you’ll land on the Blooket dashboard, your hub for creating and managing games.
Step 2: Create or Choose a Question Set
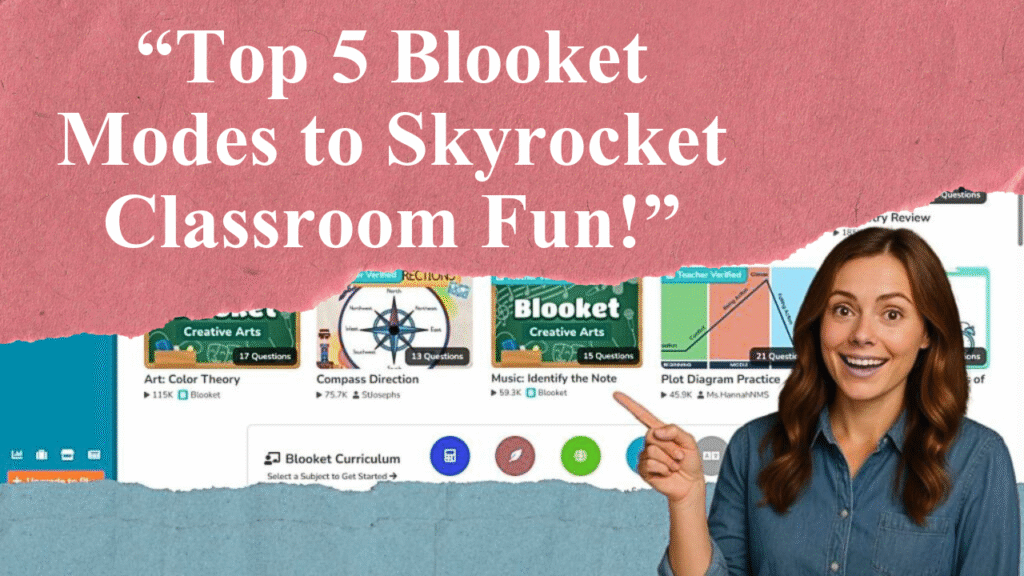
Question sets are the foundation of Blooket games. From the dashboard, click “Create” to start a new set or “Discover” to browse over 20 million pre-made sets by other educators. For a custom set, select “Create a Set,” then add a descriptive title (e.g., “5th Grade Math Fractions”) and a brief description to help others find it. Optionally, upload a cover image from your device, a URL, or Blooket’s gallery to make it visually appealing.
Step 3: Build Your Questions
When creating a question set, choose a question type: multiple-choice, true/false, fill-in-the-blank, or matching. Add your question text and provide two to four answer choices, marking the correct one(s). For true/false questions, input “True” and “False” as answers and uncheck “Random Order” for clarity. Enhance questions with images or videos by clicking “Add Media” to boost engagement. Set a time limit per question (default is 20 seconds) or adjust it based on complexity. Save each question and repeat until your set is complete.
Step 4: Customize Game Settings
Blooket offers customization to make games interactive. Enable power-ups like double points or question skips to add strategy and excitement. Set a timer for each round to create urgency, or disable it for a relaxed pace. You can also randomize question order to keep games fresh. These options are adjustable when hosting a game, allowing flexibility based on your classroom’s needs.
Step 5: Choose a Game Mode
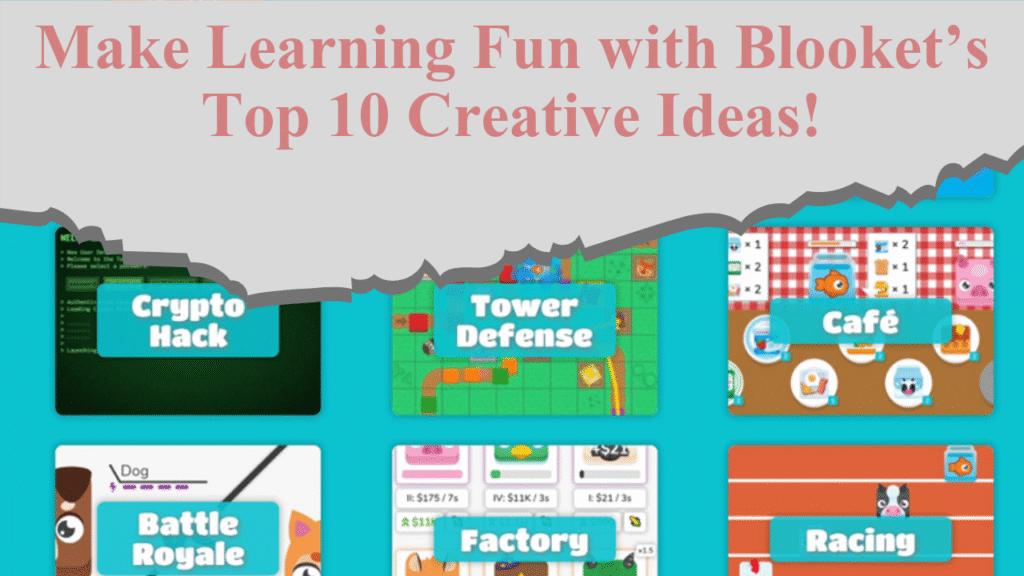
Blooket provides various game modes to suit different learning styles and class dynamics. Popular modes include:
Gold Quest: A treasure hunt where correct answers earn gold.
Tower Defense: Students answer questions to build defenses.
Battle Royale: Players compete head-to-head.
Cafe: Students serve customers by answering correctly.
Select a mode from the “Host” menu after choosing your question set. Modes like Tower of Doom and Crazy Kingdom are solo or homework-only options. Consider your class’s preferences and lesson goals when selecting.
Step 6: Host and Share the Game
Click “Host” on your chosen question set, select a game mode, and set options like time or token limits. A unique Game ID and QR code will appear. Share this ID via email, a learning management system, or by displaying it in class. Students join by visiting play.blooket.com, entering the Game ID, and choosing a nickname or avatar. Allow late joiners to accommodate varying schedules. Once all students are in, click “Start” to begin.
Step 7: Monitor and Analyze Performance
During the game, Blooket provides real-time feedback on student performance. After the session, access detailed reports via the dashboard’s “History” tab. These reports show correct and incorrect answers, time spent, and overall scores, helping you identify knowledge gaps and tailor future lessons. Use this data to provide targeted feedback or adjust question sets for reteaching.
Step 8: Assign as Homework or Self-Study
Blooket isn’t limited to live games. Assign question sets as homework via the “HW” tab, setting a due date or token goal. Students access these through the Game ID or a shared link, allowing flexible, independent learning. This is ideal for reinforcing concepts outside class or preparing for assessments.
Tips for Maximizing Engagement
Mix Question Types: Combine multiple-choice, true/false, and matching questions to cater to diverse learners.
Incorporate Media: Use visuals to make abstract concepts concrete, especially for subjects like science or history.
Vary Game Modes: Rotate modes to maintain student interest and match lesson objectives.
Encourage Collaboration: Use team-based modes like Tower Defense to foster teamwork.
Leverage Pre-Made Sets: Save time by adapting existing sets from the Discover tab, especially for common topics.
Potential Challenges and Solutions
Some educators note that certain game modes, like Gold Quest, can prioritize speed over understanding, leading to guessing. To address this, choose discussion-friendly modes like Classic, where you can pause to explain correct answers. Ensure students use school devices to minimize distractions if phones are a concern. Regularly review game reports to confirm learning outcomes are met.
Disclaimer: This article is based on information from educational websites and Blooket’s official resources, reflecting best practices for creating engaging games as of July 14, 2025. Always verify platform features and settings, as updates may occur. Consult Blooket’s help center for the latest guidance.
[qwam_quiz_box]