Blooket transforms learning into fun with interactive, game-based quizzes. This guide details how to host a Blooket game, from account setup to selecting question sets and game modes, sharing game codes, and using analytics to enhance student engagement. Learn tips for customization, managing participants, and leveraging reports for educational success.
Hosting a Blooket Game: Step-by-Step Guide
Step 1: Setting Up a Blooket Account
To host a Blooket game, start by creating an account on the Blooket website (blooket.com). Sign up using an email address, Google account, or Clever for educators. The process takes just a few minutes, granting access to the user-friendly dashboard where you can manage games, question sets, and reports. A free account provides access to essential features, including hosting games for up to 60 players, while Blooket Plus offers advanced options like larger player limits and enhanced analytics.
Step 2: Choosing or Creating a Question Set
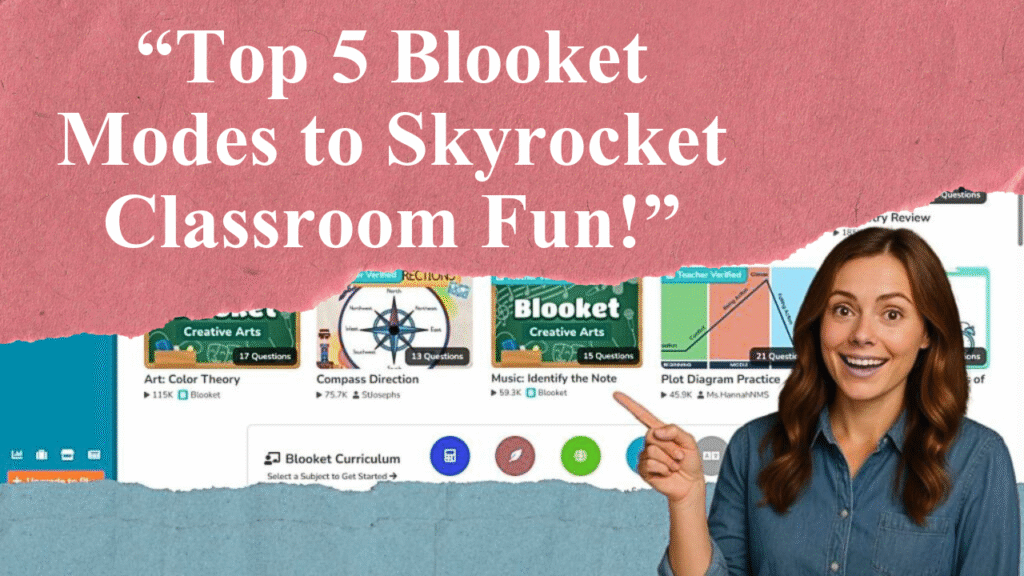
Question sets are the foundation of Blooket games. You can browse over 20 million pre-made sets in the “Discover” section, organized by subject, grade level, or topic, such as math, science, or history. Use search filters like grade or standard to find relevant content. Alternatively, create your own set by navigating to the “Create” tab, adding a title (e.g., “5th Grade Science Trivia”), description, and cover image. Include multiple-choice, true/false, or open-ended questions, and mark correct answers. You can also import sets from Quizlet or spreadsheets for efficiency.
Step 3: Selecting a Game Mode
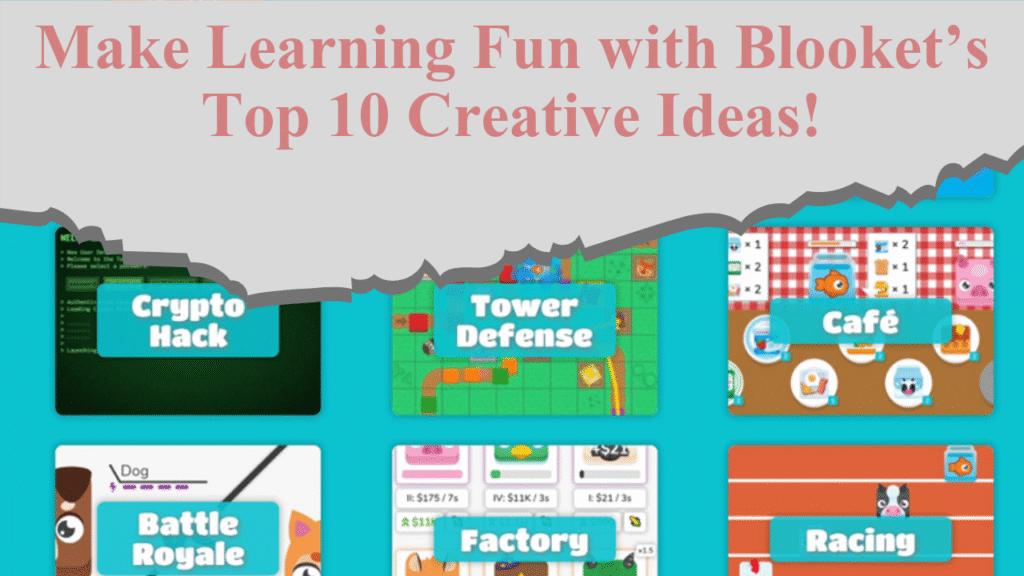
Blooket offers diverse game modes to suit different learning styles and objectives. Popular options include:
Classic: A quiz-style mode where students earn points for speed and accuracy.
Tower Defense: Players answer questions to build defenses against enemies.
Gold Quest: Students collect gold by answering correctly, with random events adding excitement.
Crypto Hack: Players “hack” others’ points by answering questions and guessing secret words.
Choose a mode that aligns with your lesson goals and student interests. For example, younger students may enjoy the playful “Cafe” mode, while older students might prefer the strategic “Tower Defense.” Seasonal or event-based modes, like holiday-themed games, can add variety but are available for a limited time.
Step 4: Configuring Game Settings
After selecting a question set and game mode, customize settings to enhance the experience. Options include:
Time Limits: Set question timers to maintain focus or adjust for difficulty.
Player Limits: Free accounts support up to 60 players, while Blooket Plus allows up to 300 (except in Racing and team modes).
Late Joining: Enable this to allow students to join after the game starts.
Random Nicknames: Use this to anonymize players or allow real names for easier tracking.
Randomized Points: Add unpredictability by varying point rewards for correct answers.
These settings provide flexibility to tailor the game to your group’s size, skill level, or learning environment, whether in-class or remote.
Step 5: Hosting the Game
Click “Host” to generate a unique six-digit game code or QR code. Share this code with participants via email, a class platform, or by displaying it in the classroom. Students join by visiting play.blooket.com, entering the code, and selecting a “Blook” avatar. For virtual settings, share the join link for seamless access. Monitor the lobby to ensure all players are ready, then click “Start” to begin the game. Real-time monitoring lets you track participation and performance, offering insights into who excels or needs support.
Step 6: Engaging Participants During Gameplay
To maximize engagement, foster a positive, competitive atmosphere. Encourage friendly competition with leaderboards that display real-time rankings. Use themes tied to the subject (e.g., ancient civilizations for history) to make the game immersive. Offer in-game rewards like points or power-ups to motivate students. For example, in “Factory” mode, correct answers earn currency to upgrade factories, adding excitement. If a student struggles, provide real-time feedback or adjust question difficulty for future games.
Step 7: Reviewing Performance with Analytics
After the game, Blooket generates detailed reports showing individual and class performance, including accuracy, response time, and question-specific results. Use these to identify knowledge gaps, tailor future lessons, or provide targeted feedback. For instance, if many students miss a question, revisit that concept in class. Blooket Plus offers enhanced reporting for deeper insights. Share results with students to celebrate successes or encourage improvement, keeping the tone constructive.
Step 8: Advanced Tips for Hosting Success
Prepare in Advance: Test your question set and game mode to ensure smooth execution.
Match Content to Audience: Adjust question difficulty to suit participants’ knowledge levels.
Incorporate Team Play: Use modes like “Battle Royale” to foster collaboration by grouping students.
Assign Homework: Set games as solo or homework tasks for asynchronous learning.
Use Seasonal Modes: Leverage limited-time modes to align with holidays or events for added engagement.
Integrate with Other Tools: Import questions from Quizlet or use AI tools like QuestionWell to generate sets quickly.
Test Technology: Ensure a stable internet connection and compatible devices for all participants.
These strategies enhance the learning experience and keep students motivated.
Step 9: Troubleshooting Common Issues
If students can’t join, verify the game code is correct and unexpired, as codes are temporary. Ensure devices are connected to a stable internet. For large groups, confirm the player limit isn’t exceeded. If the game lags, reduce the number of players or simplify the mode. Blooket’s help center (help.blooket.com) offers detailed guides for further support.
Disclaimer: This article is based on information from Blooket’s official website, help center, and educational blogs as of July 14, 2025. Always verify platform updates or technical requirements before hosting. Tips are suggestions and may vary by classroom or group needs. Consult Blooket’s terms for privacy guidelines, especially for students under 13.
[qwam_quiz_box]